One of the most powerful methods for fashioning beautiful and long-lasting roses is a process called grafting. Rose grafting techniques are used to combine the growth habits and qualities of two or more parts of a rose plant so that it produces a better flower and grows on its own roots. The combination can also result in improved resistance to such common problems as disease and temperature, as well as better performance in the vase or the garden. Whether you're a novice or a seasoned green thumb, this informative article will provide you with a wealth of valuable advice on this topic.

Benefits of Grafting Roses
There are multiple reasons why someone might want to consider rose grafting. One of the most common is the development of desired or unique rose forms that are not readily available in the home or retail market. By combining a popular or easy-to-grow hybrid into a grafted specimen rose, the resilience of that variety can be improved. It is not uncommon for a hybrid tea or grandiflora to be grafted in an area, or on a rootstock, that has high pest pressure or soil pathogens. Superior rootstocks can also improve overall rose health. Wild or multiflora roses are good rootstocks when imperviousness to nematodes, crown gall, or root problems is required.
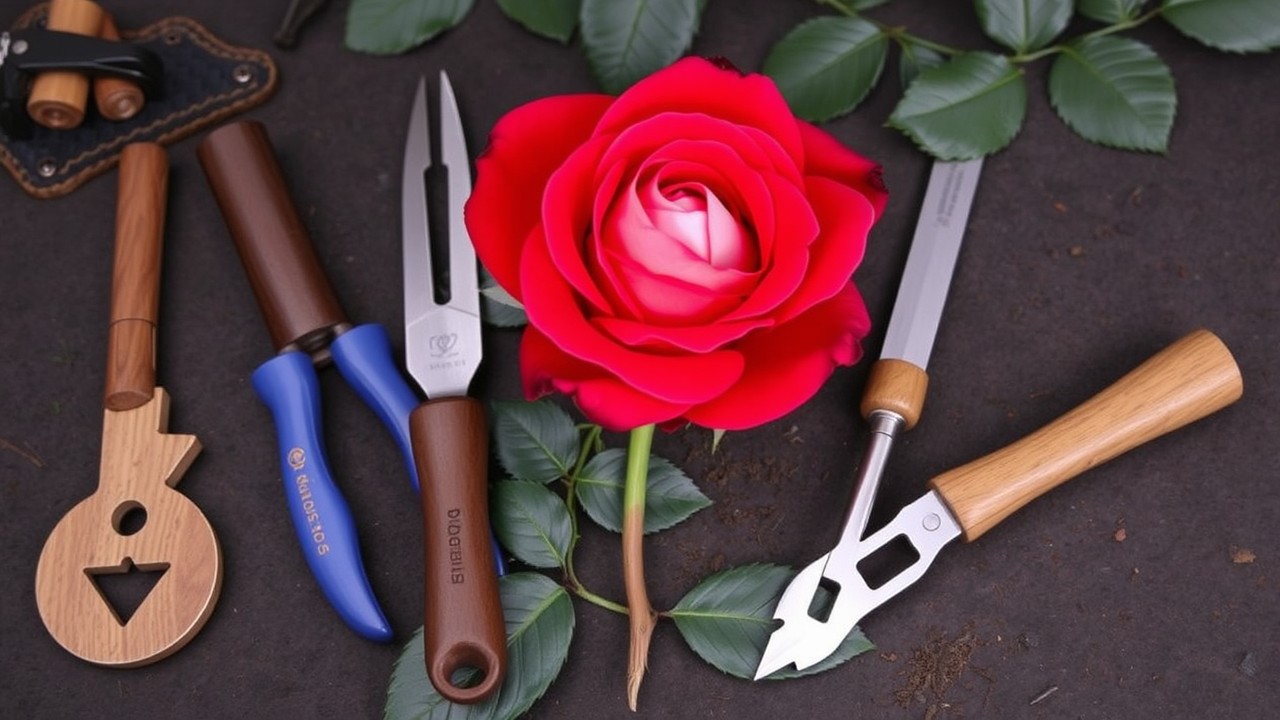
Essential Tools and Materials
In addition to your budding skills as a gardener, there are a few specific rose grafting tools and materials needed.
- Grafting Knives: Electric and high-carbon knives are available, but some pros claim the saber profile blade is preferred because it is the most versatile.
- Pruning Shear: Snips or pruners are tools to separate the style into a single pair of scissors.
- Tape or Band: The rootstock and scion can be secured with an electrician's tape, which is flexible and simple to use. Regular rubber bands or biodegradable rubber bands also work well.
Clean after each use. Also, periodically apply a bit of light oil to the pivot points or rubber stops. A sharp blade breaks down less, thereby reducing the potential for plant damage since it takes less time to complete each severance or cut. As with all gardening tools, the best investment is in high-quality rose grafting tools.

Step-by-Step Guide to Rose Grafting
The following are step-by-step successful rose grafting tips to complete the task.
1. Preparing Rootstock
Creating a successful rose graft without a healthy, vigorous rootstock is nearly impossible. Select a rootstock for rose grafting that is actively growing and well-hydrated. Upon acquiring your rootstock, it is advisable to sever the apex of the rootstock, in addition to removing any shoots present along the lower portion of the trunk. This cut can be made above or below the ground using a rootstock saw.
2. Preparing the Scion
Choose a scion that has a diameter similar to that of the rootstock being considered. A scion is simply the growth you want. Expert opinions vary on the best age of the scion—some swear by younger, tender wood, while others prefer wood that is a year older and can be quite hard when mature. Late winter is the best time to graft roses given that growers normally cut back roses in spring, promoting the release of buds from dormancy. For those growing roses in greenhouses, the grafting process could be undertaken at a later date.
3. Grafting Techniques
Whether you prefer whip grafting roses or T-budding roses, all require one thing to be successful: both inner cambium layers of the rootstock and scion must be aligned. After connecting the scion and rootstock, use a flat-head screwdriver or other flat, smooth object lightly press the scion-knife connection to close the hole, and then squeeze the base to ensure full contact with the cambium area. Cleft grafting roses is another technique that can be used for larger-diameter stems.
4. Securing the Graft
After grafting or budding is completed, it is essential to seal the scion wound from dehydrating air. The graft union may “heal” without callus. Grafting tape, wax, foam, and other coverings are designed to simply keep a connection safe while it heals. Sometimes, they are designed to let out light, let air in, and keep out pests. The tips of the scion selected for grafting are cut off to prevent secondary shoots from sprouting before the graft forms a callus and heals.
5. Proper Care for Grafted Roses
The best way to keep the graft warm and secure is to use nursery film, which gently hugs the graft and keeps the wound warm and moist. This helps the graft take faster so that you can move the plant from the high-humidity environment of the propagation bed with a high survival success rate. Once the grafts have started to callus, they will show some new growth. Carefully remove the plastic covering from the emerging shoots or turn off the mist system. This will help them to harden off and prepare themselves to be future leaves. Strip the failed or unsuccessful grafts to encourage further shoots from the budwood. This also helps the plant to direct energy to the successful grafts.

Troubleshooting Common Issues in Grafting Roses for Beginners
Graft failure is a common obstacle in the process of rose grafting, and it can be disheartening for both novice and experienced gardeners. If you're facing multiple graft failures, consider the following potential issues and successful rose grafting tips:
Scion Size and Condition
If your scion wood was too small at the time of grafting or was allowed to dry out for several days, it may not have contained sufficient reserves for successful graft take. To mitigate this risk, always select the largest scion wood available, and promptly pot up the prepared scion in moist media right after wrapping and refrigerating it.
Wrapping Technique
An overly tight wrapping technique can lead to graft failure. It is essential to ensure that there is good contact between the scion and the rootstock while applying only light pressure. This allows for proper healing without restricting the vascular connection.
Rootstock Health
The condition of the rootstock plays a significant role in graft success. Signs of unhealthy rootstock include weak, stretched growth in pursuit of sunlight or damage sustained during planting. Such symptoms indicate that your rootstock may need more time to recover before it can effectively support new growth.
Digging Process
Any damage incurred during the digging process can also affect graft success. However, if you experience symptoms of failure only during pot removal, this is less likely to be the root cause.
To fully master rose grafting techniques, gardeners must exhibit qualities such as patience, attentiveness, and persistence. Consequently, by adhering to these outlined steps, one can effectively graft rose plants and enjoy the various benefits associated with the practice of rose grafting.


