
Americans are discovering how simple it is to cultivate garlic, which has led to a surge in its appeal in both kitchens and gardens. Read on these garlic gardening tips, you can effortlessly cultivate your own garlic and reap the benefits of your labor.
What Makes Garlic an All-Star Crop
A common ingredient in many cuisines for a long time, garlic is among the first crops ever grown. The abundance of antioxidants and other substances in it gives it a reputation for being good for health. When cultivated correctly, garlic poses little challenges in terms of pests and diseases to the home gardener. Since it doesn't take up much room, you may sow it in the autumn, after most other crops have been plucked.
Choosing Your Garlic Type
True garlic falls into two main categories:
- Hardneck garlic varieties derive their name from the rigid central seed stalk known as a scape. They typically exhibit a robust or pungent flavor, yet possess a limited storage lifespan, lasting up to three months post-harvest. Each head of hardneck garlic generally contains 12 or fewer cloves. These cloves are large, uniform, and arranged in a single layer encircling the sturdy stem.
- In contrast, softneck garlic varieties lack a solid central stalk, maintaining soft, pliable tops. For those interested in crafting garlic braids, as often seen in farmers' markets, softneck kinds of garlic are the ideal choice. They provide a milder taste compared to their hardneck counterparts and can be stored for six months or longer. Softneck heads may consist of up to 40 small, irregularly shaped cloves arranged in multiple layers surrounding the core.
When starting a new crop of garlic from seed, choose the largest and healthiest heads from the previous season. As it stands, a bigger planted clove will provide a bigger harvested head. If you're going to buy garlic, be sure you choose the kind that is meant for planting.
Garlic Gardening Tips: A Planting Garlic Checklist to Enable You to Not Miss Any Steps
1. Perfect Timing
Start planting your garlic crop in the autumn or early spring, as garlic necessitates cold conditions to mature adequately. In the absence of a cooling phase, the garlic bulb will not split into cloves but rather into bulbs resembling onions. Planting garlic in September, with blooming bulbs, is a more popular choice for many gardeners. Because of this, garlic has more time to develop, which results in bountiful harvests in the summer and an easier time freezing them properly. The optimal time to plant autumn garlic falls within two weeks prior to or following your region's expected first frost date. A garlic planting calendar can be useful in determining the best planting times for your area.
2. Laying the Groundwork
Full light and loose, fertile, well-drained soil are ideal for garlic plants. In order to have good harvests, plants need to be well-nourished. A thick 3- to 4-inch covering of organic material, like compost, will greatly improve the look of your garden beds. Add a well-balanced fertilizer to the soil and mix this layer in. Before planting, it's smart to conduct a soil pH test, which provides precise information on how to modify your garden soil to ensure that garlic grows successfully.

3. Planting
Contrary to popular belief of how to plant garlic, garlic is not cultivated from plants or seeds but rather from individual cloves, the same ones that are used in cooking. A big head develops from every clove. Prior to planting, manually prepare the cloves and seek the help of friends. Having a garlic-themed outdoor party and preparing garlic for planting is the perfect justification! Keep the thin skin on each clove intact and take care not to damage the flat base, as this is crucial for root growth. Do not fret if any are broken; just save them for future culinary use. Plant garlic cloves 1–2 inches deep in colder climates and 3–4 inches deep in hotter ones. Ensure the flat, rooting plate faces downward, with the pointy end facing up. This layer regulates soil temperature, allowing garlic to cool slowly in the fall and warm gradually in the spring.
4. Water and Fertilizer
Garlic, which requires weekly waterings, is more tolerant of nutrient-poor soil than many vegetables; yet it thrives more when planted in rich soil that has been amended with organic ingredients such as compost or aged manure. Conducting a soil test helps ascertain if extra nutrients are needed. In spring, an additional nitrogen application (1 lb per 1,000 square feet) is advisable when garlic plants reach 6–8 inches. Alternatively, foliar feeding every two weeks from mid-March to mid-May can enhance growth. For optimal results, spray leaves with a mixture of 1–2% fish solution and 0.5% kelp.
Cease watering approximately one month before harvest, indicated by yellowing leaves, to ensure dry, robust skin and avoid bulb rot or splitting. Because fewer weeds will emerge in the spring from well-prepared seedbeds, weed management is an important component of garlic production. Hand hoeing as weeds emerge in spring is essential for successful garlic production. Begin weeding when the weeds are no taller than one inch.
5. Pests and Diseases
While the main ingredient Allicin makes garlic naturally resistant to insects and illnesses, there are still certain problems to watch out for, such as mites and white rot. Preventing pests and diseases requires careful planning, including the use of sound planting stock, ideal cultivating conditions, sufficient crop rotation, and thorough cleaning. Always throw away the garlic cloves and their packaging instead of composting them, and never cultivate garlic in the same spot as onions.
6. Harvesting
In the spring, hardneck garlic produces scapes. Opinions vary on whether to remove scapes. Most cultivators favor cutting off the scapes to redirect the plant's energy toward bulb development. Green garlic can serve as a substitute for green onions in salads or cooking. Bulbs reach their harvest stage when the foliage begins to yellow or brown, the plants lean over, and at least 50% of the leaves remain green. The fact that the bulbs still haven't started to split is shown by their green leaves.
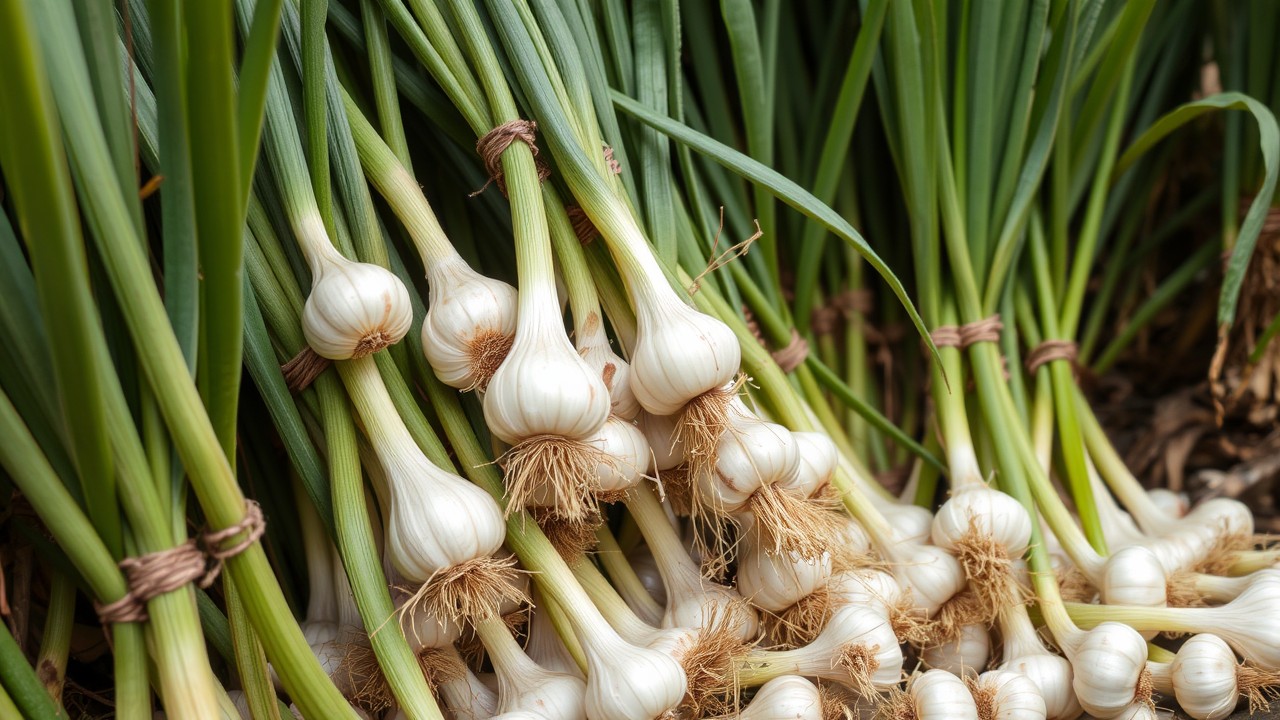
It is best to harvest bulbs on a sunny, dry day. Avoid leaving freshly harvested bulbs in direct sunlight for extended periods to prevent sunburn. To avoid damaging the bulbs, gently remove the dirt around them. In lieu of pulling them out, it is more advantageous to excavate up the bulbs. Remove any extra dirt by shaking the package while preserving the wrapper. Garlic keeps better in the fridge if much of the wrapping remains on the bulb. Washing the bulbs could actually promote fungal development, so it's best to avoid that.
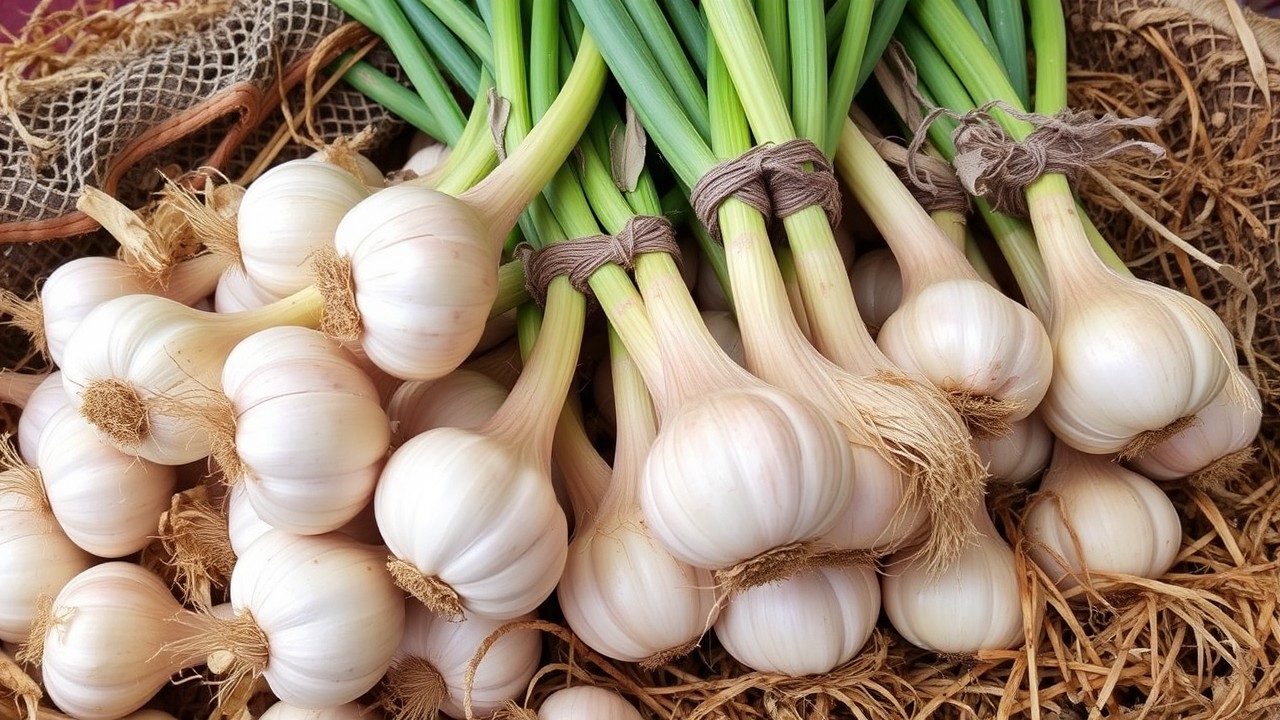
7. Curing and Storing
The gathered garlic may be preserved for a longer period of time and its flavor can be enhanced by curing it. Prepare the garlic for curing by tying bunches and storing them in a cool, dry, shaded spot with good air circulation for four to six weeks. Leave the outer epidermis intact and prune the roots after the garlic has dried. Get rid of any dirt that may be hanging around and cut the stalks around 1½ inches above. Humidity levels of 65–70% and temperatures between 32 and 35 degrees Fahrenheit are ideal for edible bulb storage.
Fall garlic planting is simple and enjoyable. Revitalize your garden and give garlic a go this season and this comprehensive garlic planting guide will help you get started.